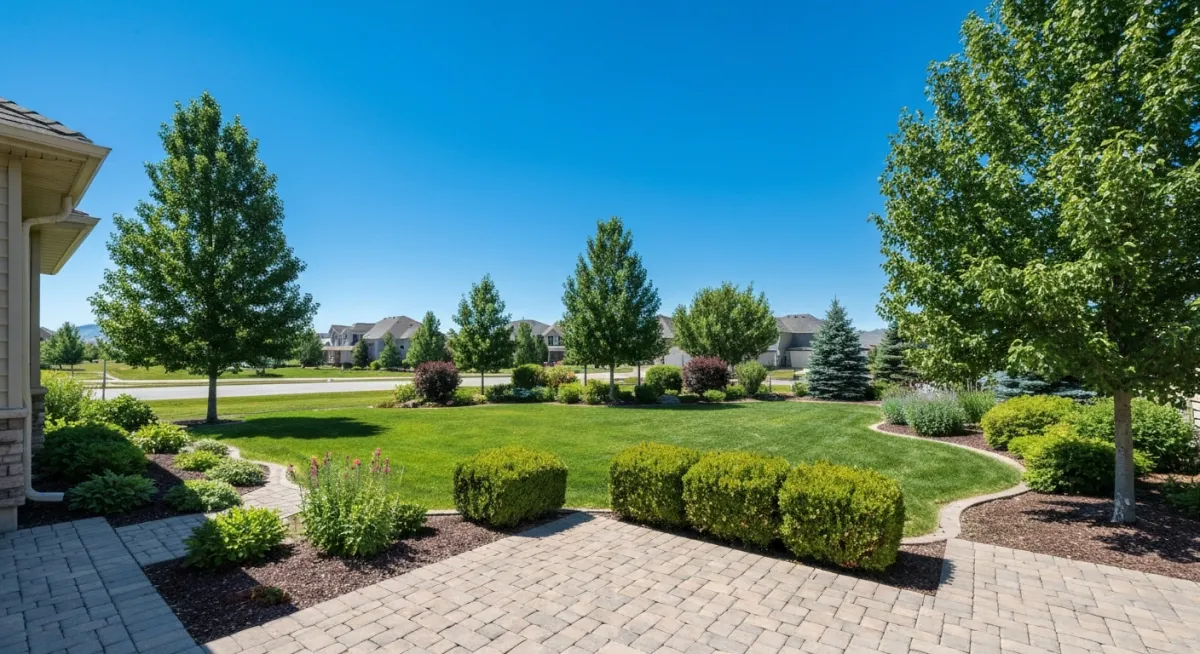
Orem homeowners invest thousands in beautiful paver patios. But without proper care, that investment deteriorates faster than you'd expect. Utah's unique climate puts serious stress on outdoor hardscaping. The good news? Paver patio maintenance doesn't require professional help for most tasks. A few hours of seasonal attention keeps your patio looking great for decades.
Whether you're near the Provo River Trail or up against the Wasatch foothills in Orem, these maintenance strategies apply. Let's break down exactly what your paver patio needs to stay in top condition.
Why Paver Patios Need Regular Care in Utah's Climate
Utah isn't kind to outdoor surfaces. We experience temperature swings that stress every material in your yard. Orem's high number of sunny days means intense UV exposure throughout the year. That relentless sunshine combined with harsh winters creates a challenging environment for pavers.
Regular paver patio maintenance prevents small problems from becoming expensive repairs. Neglected patios develop weeds, shifting, and surface damage that compound over time. A little effort now saves major headaches later.
How Freeze-Thaw Cycles Affect Your Pavers
Orem experiences roughly 100 freeze-thaw cycles per year. Each cycle pushes moisture into tiny pores in your pavers. When that moisture freezes, it expands. Then contracts. Then expands again.
This constant movement loosens joint sand. It shifts pavers out of alignment. It can crack stones that already have small imperfections.
The elevation here in Utah County makes this worse. We're sitting around 4,700 feet. Temperatures drop faster after sunset than at lower elevations. This accelerates the freeze-thaw process during spring and fall.
Sun Exposure and Color Fading Along the Wasatch Front
High desert sunshine is brutal on paver colors. Orem's position along the Wasatch Front means intense UV exposure from spring through fall. South-facing patios take the hardest hit.
Unsealed pavers fade noticeably within two to three years. Reds become pink. Browns become tan. Charcoal grays wash out to a dusty appearance.
Sealing protects against this fading. But even sealed patios need reapplication every few years to maintain that UV barrier.
Seasonal Paver Patio Maintenance Schedule
Smart maintenance follows the seasons. Each time of year presents different challenges for your patio. Following a consistent schedule prevents most common problems.
Spring Cleaning After Winter Salt and Debris
Spring is your most important maintenance window. Winter leaves behind salt residue, sand, decomposing leaves, and accumulated grime.
Start with a thorough sweep. Remove all loose debris from the surface and joints. Then inspect for winter damage. Look for shifted pavers, widened joints, and any cracking.
Salt damage appears as white, chalky residue or surface flaking. If you used ice melt products near your [paver patios and walkways](https://prolandscapingut.com/paver-patios-walkways), check those areas carefully.
Rinse the entire surface with a garden hose. For heavy salt buildup, use a diluted vinegar solution before rinsing. One cup white vinegar per gallon of water works well.
Summer Weed Prevention Between Pavers
Summer brings weed pressure. Any joint sand loss from winter creates opportunities for seeds to germinate.
Pull weeds by hand when they're small. Get the roots, not just the tops. Flame weeders work on larger infestations without chemicals.
After removing weeds, top off joint sand immediately. Empty joints invite more weed growth within weeks. Polymeric sand offers better weed resistance than regular joint sand.
Consider a pre-emergent herbicide in early May. Apply before soil temperatures reach 55 degrees consistently. This prevents germination without killing existing plants.
Fall Prep Before the First Freeze
Fall maintenance sets you up for winter survival. Complete these tasks before Orem's first hard freeze, typically in late October.
Clean all organic debris. Leaves left on pavers create moisture pockets that freeze and damage surfaces. They also stain light-colored pavers.
Check joint sand levels throughout the patio. Top off any low areas. This prevents water from pooling in joints and freezing.
Inspect edges and borders for stability. Loose edging allows pavers to shift outward during freeze-thaw cycles. Secure any problem areas now.
If you haven't sealed in two years, fall is ideal timing. Sealer needs temperatures above 50 degrees for proper curing. Late September through mid-October usually provides good conditions.
How to Clean Your Paver Patio the Right Way
Proper cleaning extends paver life and maintains appearance. The wrong approach can damage surfaces or strip protective sealers prematurely.
Tools and Supplies You Need
Gather these items before starting:
- Stiff bristle broom or push broom
- Garden hose with spray nozzle
- Pressure washer (optional, 1500-2000 PSI max)
- Bucket
- Dish soap or specialized paver cleaner
- Scrub brush with long handle
- Polymeric sand for joint refilling
- Safety glasses and gloves
Skip the wire brushes. They scratch paver surfaces and create channels for moisture penetration. Stick with synthetic bristles.
Step-by-Step Cleaning Process
Start dry. Sweep the entire patio thoroughly. Get into corners and along edges where debris accumulates.
Pre-wet the surface with plain water. This prevents cleaning solution from soaking in too deeply before you can scrub.
Mix your cleaning solution. For general cleaning, a few squirts of dish soap per gallon of water works fine. For heavier buildup, use a dedicated paver cleaner following package directions.
Apply solution to a 10-by-10 section. Scrub with your long-handled brush. Work the solution into the paver surface without pushing it into joints.
Let it sit for 10 minutes. Don't let it dry.
Rinse thoroughly with your garden hose. Use a sweeping motion to push dirty water off the patio edge.
If using a pressure washer, keep the tip 12 inches from the surface minimum. Use a fan tip, not a pinpoint. High pressure damages paver surfaces and blasts out joint sand.
Removing Stains from Oil, Rust, and Mold
Different stains need different treatments. Using the wrong cleaner sets some stains permanently.
Oil and grease respond to dish soap for fresh spills. Cover with cat litter first to absorb excess. For old stains, use a commercial degreaser designed for concrete and pavers.
Rust stains need oxalic acid-based cleaners. Regular cleaners don't touch rust. Apply according to product directions and rinse thoroughly. Never use bleach on rust. It sets the stain.
Mold and mildew appear in shaded areas, especially common against the house or under deck overhangs. Use a bleach solution (one part bleach to ten parts water) or an oxygenated bleach alternative. Scrub, wait 15 minutes, and rinse completely.
Sealing and Re-Sanding Your Pavers
Sealing protects your investment. Re-sanding maintains joint integrity. Both tasks are essential components of comprehensive paver patio maintenance.
When to Reseal Your Patio
Most sealers last two to four years depending on sun exposure and traffic. Your patio tells you when it needs attention.
Water beading indicates working sealer. If water soaks in immediately, protection has worn off.
Color fading suggests UV protection has failed. Compare covered areas (under furniture) to exposed areas.
Surface staining becomes easier when sealer wears thin. If new spills penetrate quickly, it's time.
The ideal resealing window in Orem runs from late April through early June, or September through mid-October. Avoid summer heat and winter cold.
Apply sealer only to clean, dry pavers. Wait 24 to 48 hours after any rain. Follow product directions exactly. Too much sealer creates a plastic-looking film. Too little leaves gaps in protection.
Choosing the Right Polymeric Sand
Polymeric sand hardens after activation with water. It resists weeds, insect intrusion, and washout better than regular joint sand.
Standard polymeric sand works for most residential applications. It's available at home improvement stores and handles normal weather exposure.
High-performance polymeric sand costs more but offers better flexibility. This matters in Orem's freeze-thaw environment. The extra flexibility prevents cracking during temperature swings.
For proper installation, sweep sand into all joints. Use a plate compactor or hand tamper to settle it. Sweep excess off paver surfaces completely. Then mist with water to activate. Avoid heavy watering that washes sand out before it sets.
Fixing Common Paver Problems in Orem Yards
Most paver problems are fixable without replacing the entire patio. Catching issues early makes repairs simpler and less expensive.
Leveling Sunken or Shifted Pavers
Sunken pavers create trip hazards and water pooling. The fix requires lifting affected stones and adjusting the base.
Remove the sunken paver using two flathead screwdrivers or paver pullers. Wiggle it up from adjacent stones.
Check the base material. Add sand or crusite to raise the level. Compact the new material firmly.
Reset the paver. Tap it into place with a rubber mallet. Check level against surrounding stones. Refill joints with polymeric sand.
Widespread settling indicates base problems. A few sunken pavers are normal over time. If large sections are dropping, you may have a drainage issue or inadequate original base preparation.
Replacing Cracked or Damaged Stones
Cracked pavers should be replaced. Damaged stones collect water and deteriorate faster.
Keep spare pavers from your original installation. Color matching old pavers is nearly impossible due to manufacturing lot variations and weathering differences.
If you don't have spares, pull a paver from an inconspicuous location. Use it for the visible repair. Put the new, slightly mismatched paver in the hidden spot.
For extensive damage across multiple pavers, consult with a professional [hardscaping](https://prolandscapingut.com/hardscaping) contractor. Widespread cracking may indicate installation problems that need addressing.
When to Call a Professional for Paver Repairs
DIY maintenance handles most routine care. Some situations require professional expertise and equipment.
Large-scale releveling affects entire sections. If more than 10 to 15 pavers have shifted significantly, the base needs professional attention.
Drainage problems cause recurring issues. Water pooling on your patio indicates grading problems. Proper correction requires reworking the entire base.
Edge restraint failure lets the whole patio creep outward. Replacing edge restraints properly requires specialty tools and techniques.
Efflorescence that keeps returning suggests moisture problems beneath the pavers. Surface cleaning won't solve underlying drainage issues.
If you're dealing with structural problems beyond routine paver patio maintenance, [contact Pro Landscaping](https://prolandscapingut.com/contactus-page) for an assessment. We serve homeowners throughout [Orem](https://prolandscapingut.com/orem) and Utah County with professional hardscape installation and repair.
Your paver patio represents a significant investment in your outdoor living space. With consistent seasonal care, proper cleaning techniques, and timely sealing, it will serve your family for decades. The maintenance habits you build now protect that investment year after year.